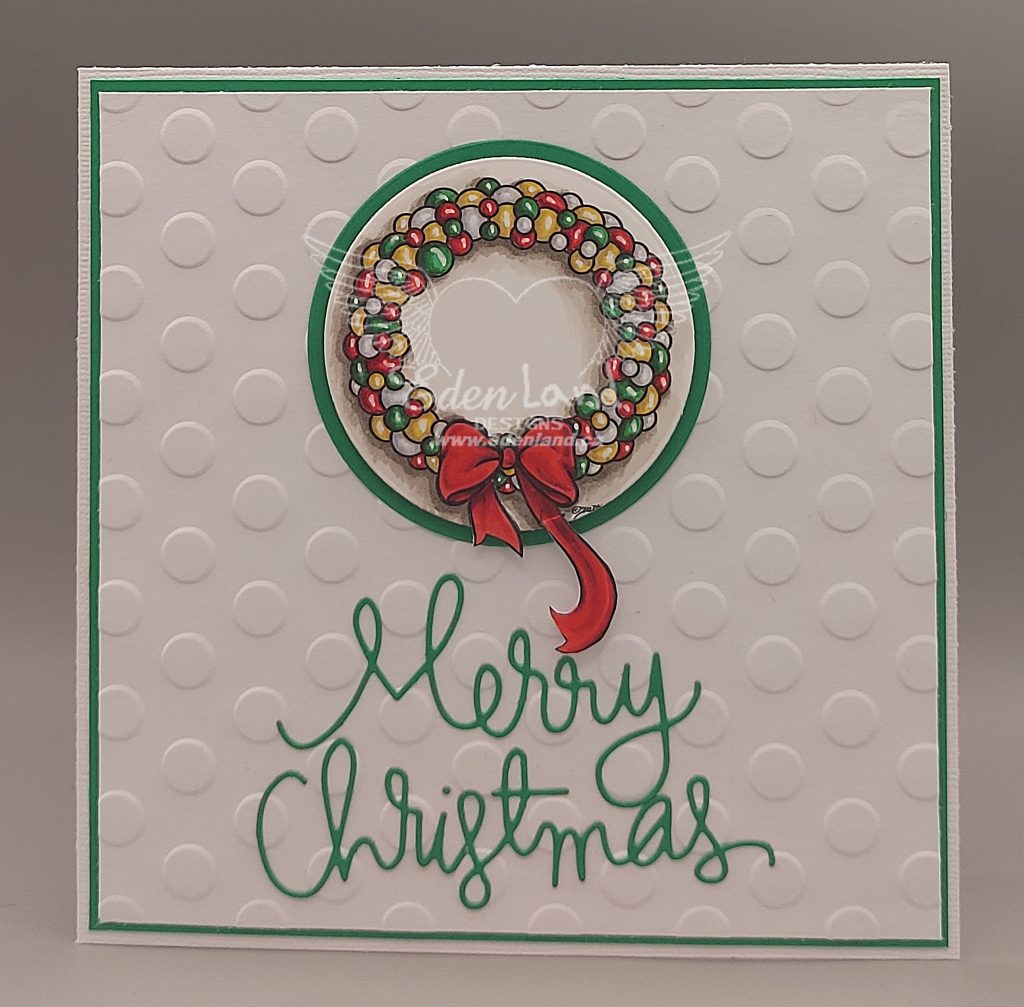
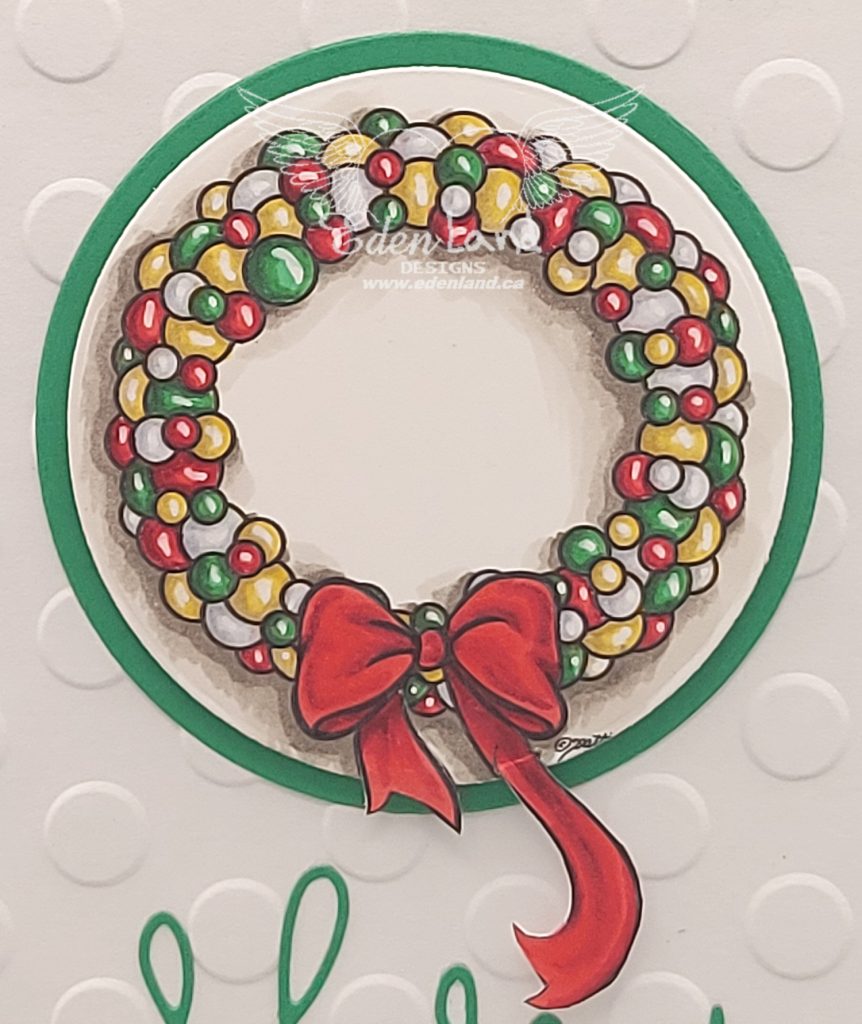
Hi there 🙂 With all the Christmas in July stuff going on, I figured there was no better time to add to my stash of holiday cards! I made up this CAS card using an image from Pattie’s Creations. I colored up Christmas Wreath with my Copics and added a few highlights with my white Posca pen.
After matting the image in green, I placed it on a background embossed with circles, to reflect the shape of the baubles in the wreath. A quick die cut sentiment, and more green matting finish this card off 🙂
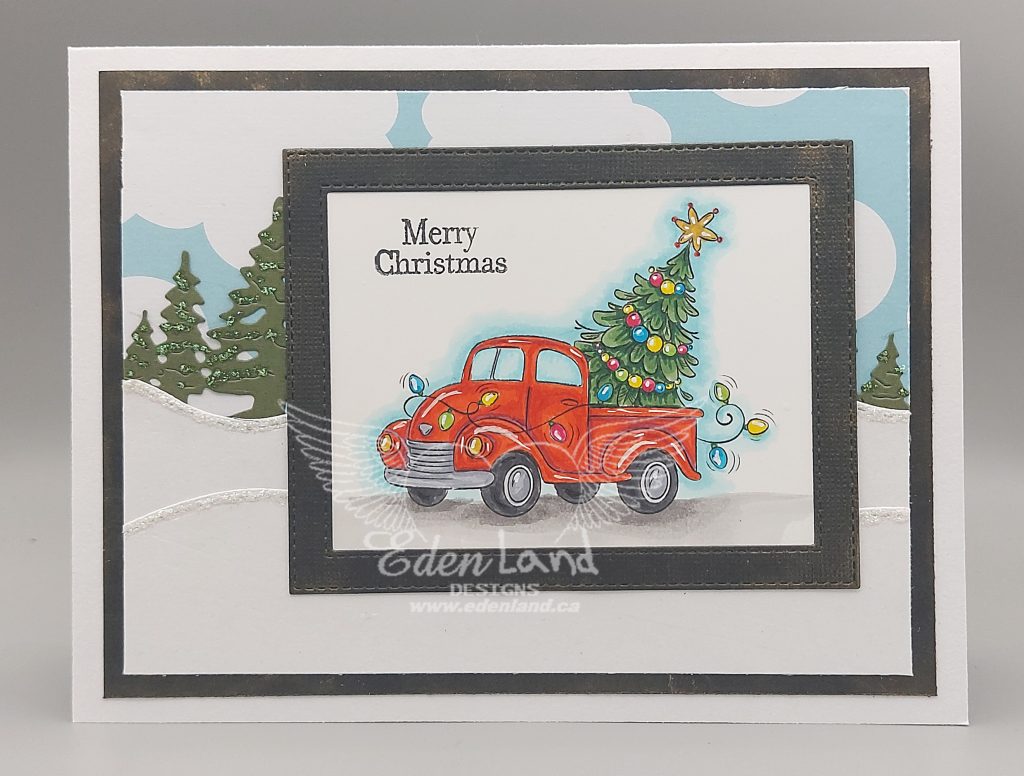
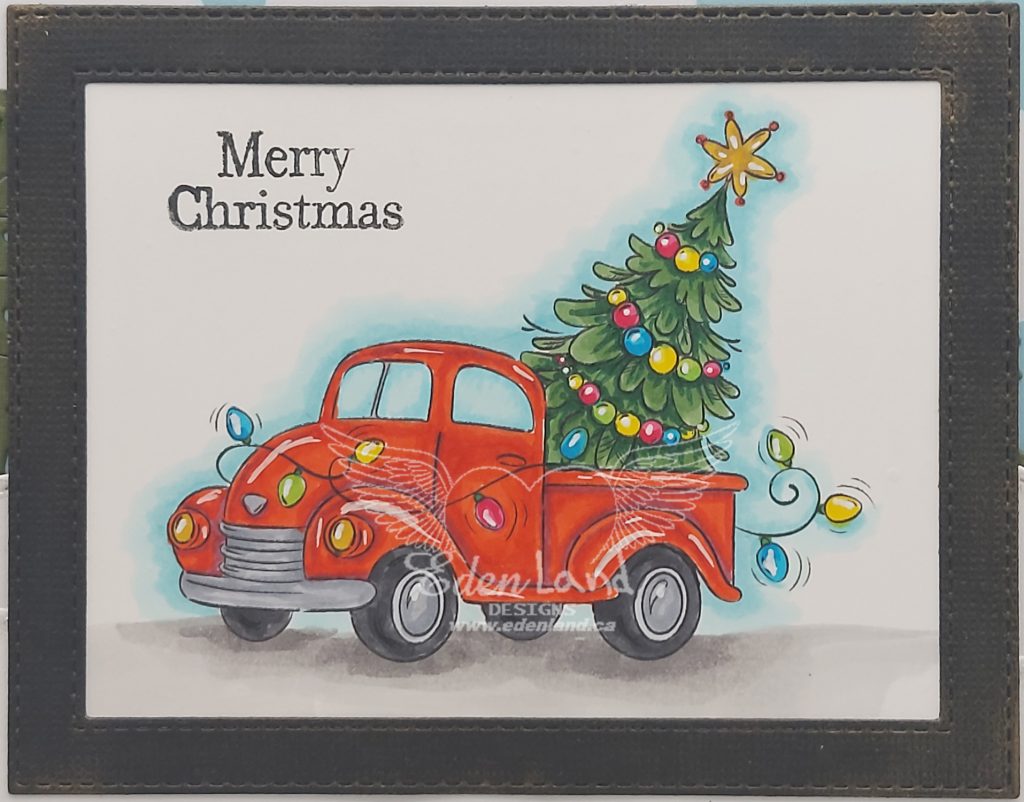
Hi there 🙂 This image brought back so many memories of venturing out to find the “perfect” Christmas tree!! I just had to color the truck red, as my dad’s truck was that color! This image is from Star Jam Lines, and it, plus so many more amazing images can be found on Olya’s Facebook page! I colored the image with my Copics, then stamped a seasonal greeting.
The frame was die cut, then I brushed on a bit of gold ink to soften it a bit. I had a small piece of cloud print paper, that I layered with some die cut “snow banks”. To complete the background scene, I added some die cut pine trees from a lovely border die. Some snowy glitter was added to the snow, as well as the tree branches.
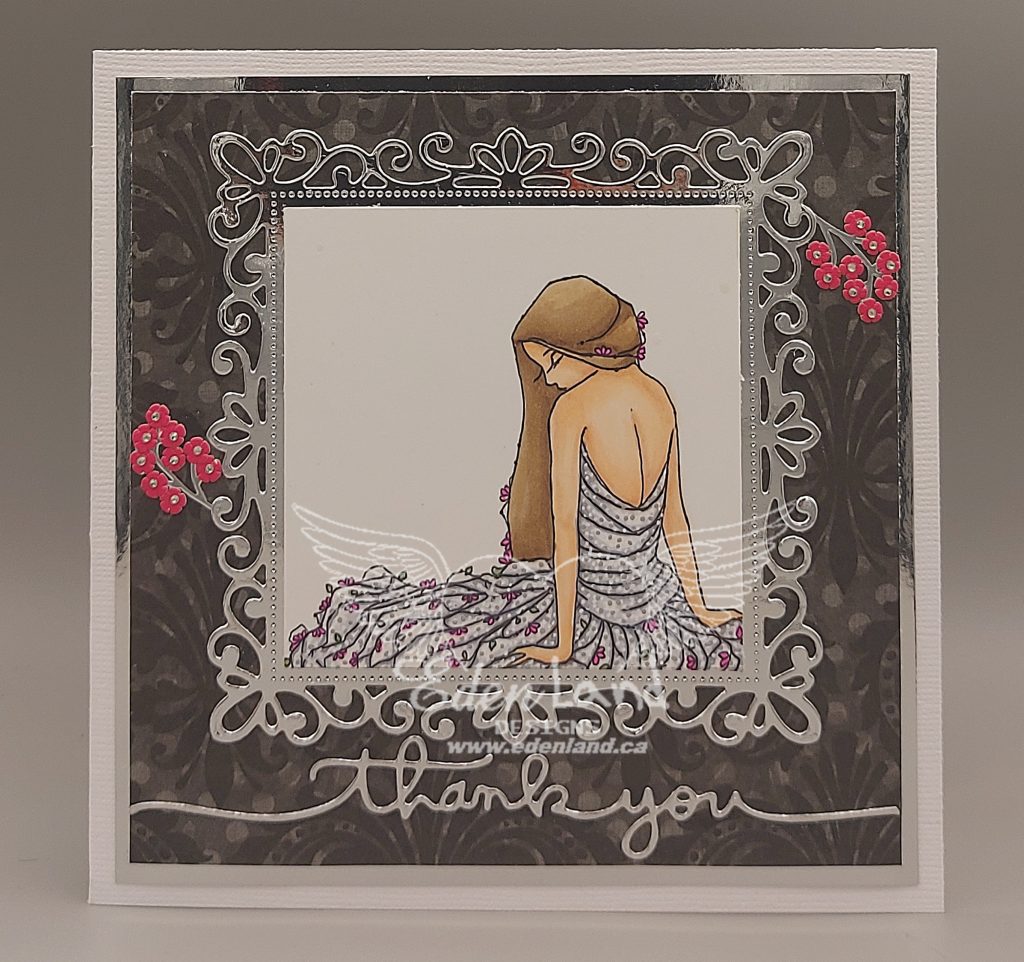
Hi there 🙂 I needed a thank you card, and this gorgeous image, Skirt of Flowers, from A Day for Daisies (yay! the store is up and running again!), was the perfect image to work with 🙂 I colored it with my Copics, then cut it out, so it was framed with a die cut silver frame. I found a subtle print CS for the background, and added a die cut sentiment. The card was crying out for something else, so I went digging around in my stash, concentrating on the stuff I usually ignore. I found some pretty peel off branches in silver, and added some tiny pink die cut flowers. Just to drive my self nuts, I carefully added some 1mm rhinestones to the centres of the blooms.
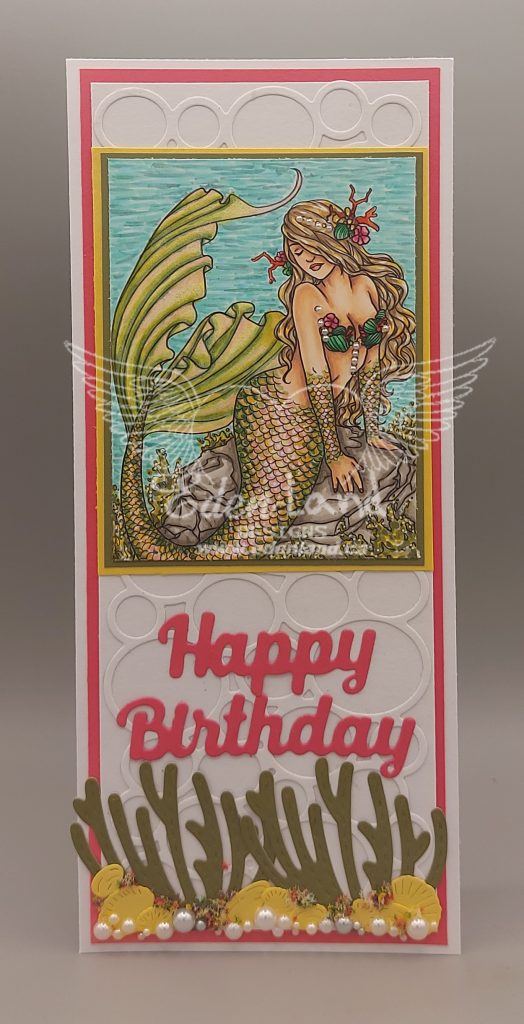
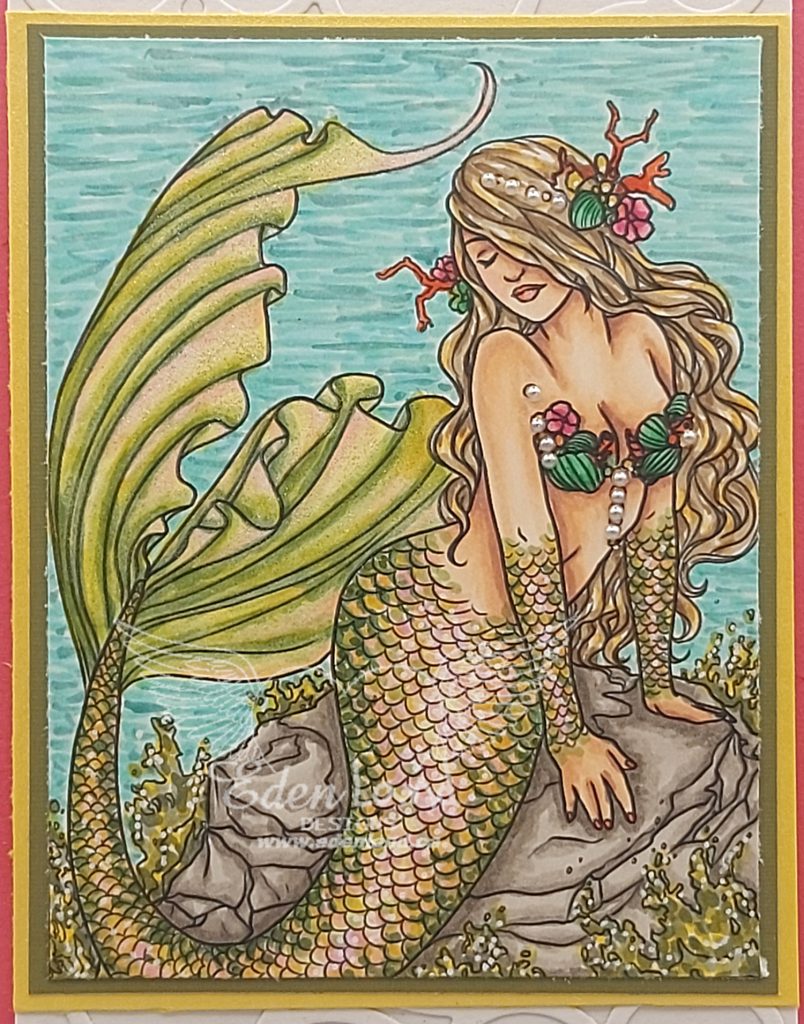
Hi there 🙂 It’s been ages since I’ve used a Selina Fenech image in one of my makes!! Although her images are considered coloring pages, I shrink them down to cardmaking size 🙂 Too beautiful not to share! This particular image was a freebie on her Facebook page awhile back. I colored this beauty up with my Copics, then added some Wink of Stella to the tail for some shimmer. I was actually able to get a picture that shows this shimmer!!!!
I matted the image up with a couple of coordinating pieces of card stock, then set it aside as I worked on the base of the card. I cut a circle background with a cool die from Crafty Meraky out of white, and layered it over another piece of white, for a faux embossed background that reminded me a bit of bubbles. I then arranged an assortment of seaweed and shells that I die cut with Marianne dies along the bottom border. A pretty pink sentiment die cut was tucked between the image and the die cut arrangement. I carefully arranged pearls around the seaweed and shells, and even more carefully, added teeny pearl accents to the mermaid. In keeping with me trying to use stuff from my stash that’s been sitting unused for forever, some Flower Soft was the perfect finishing touch!!
As You Like It Challenge – Fave Feminine or Masculine? Feminine, because there is such a huge assortment of images, embellishments and dies that are aimed at more feminine creations!
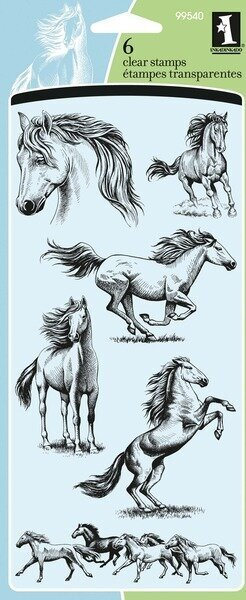
Hi there 🙂 Time for a new challenge over at Creative Fingers. All of our challenges are ATG, and this time we have 2 prizes on offer. Tindaloo is offering a digi prize, and Angelique is offering this beautiful horse stamp set.
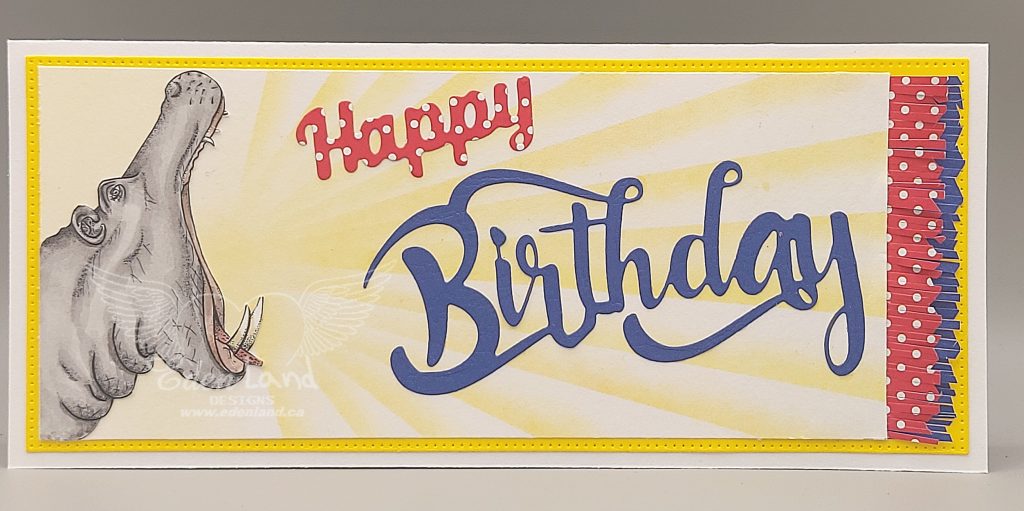
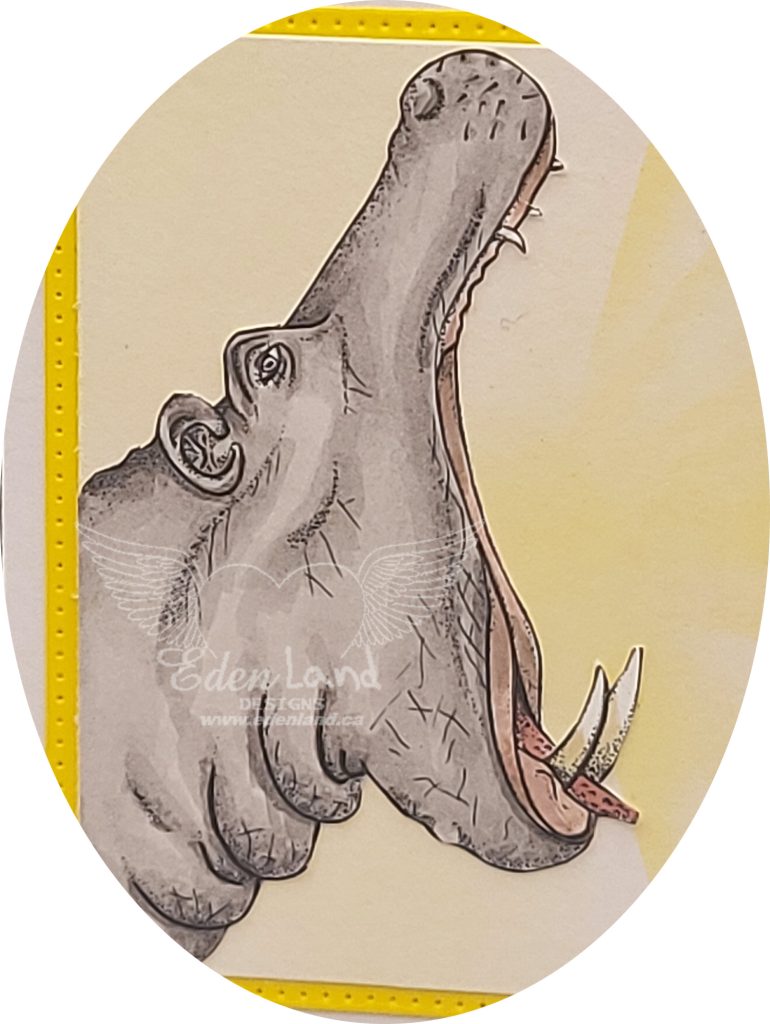
For my card, I used an image from Digi Stamps 4 Joy, another store that has sadly closed their doors. This hippo may have been yawning, but I thought it would be funnier for him to be shouting a big old Happy Birthday!! I colored him up with my Copics, and fussy cut him out.
For the background, I used chalks to make almost a comic book effect of shouting, then placed the die cut sentiment over the top. I added a couple paper fringes on the side for just a bit more fun.
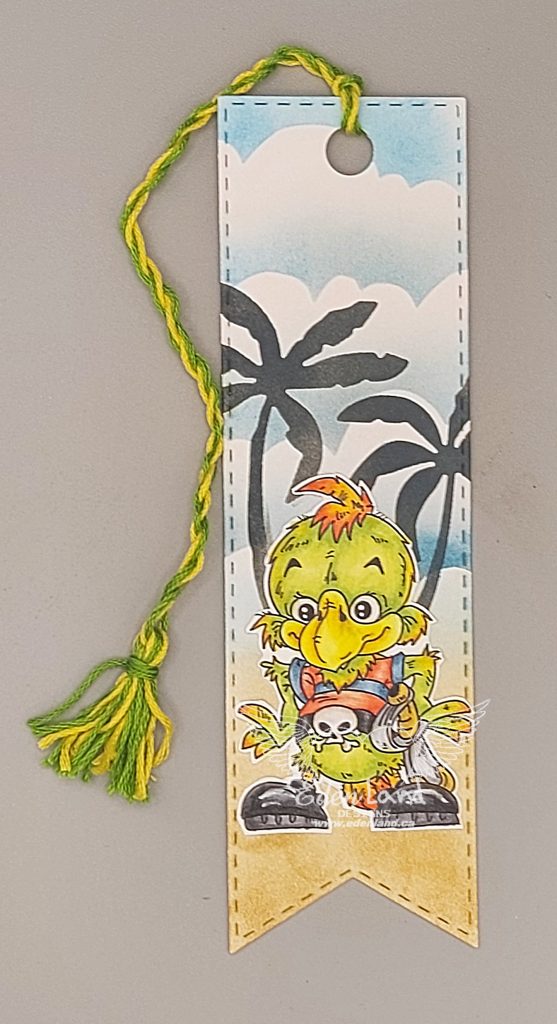
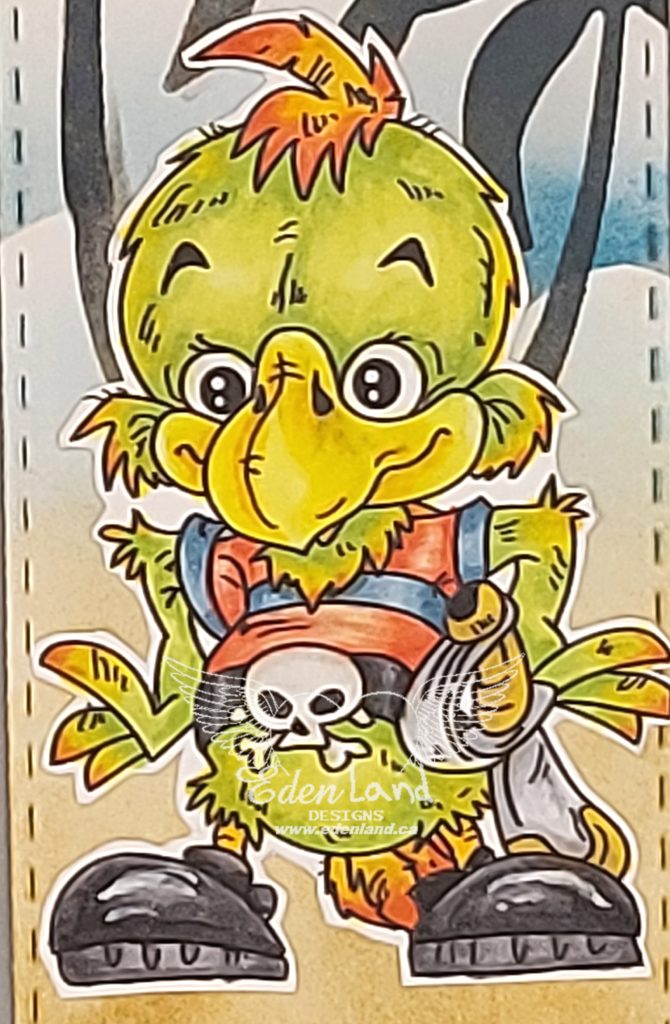
Hello there 🙂 I needed a bookmark, and there is no way that I was going to use a scrap of paper or some such nonsense….crafters don’t do that!! Lol. I printed this cute little Pirate Parrot from Fabrika Fantasy in a small enough size to use on this. After coloring him with my Copics, I fussy cut him out.
I die cut a banner that was the appropriate size, and used Distress Inks to make some clouds and a sandy background. For the palm trees, I die cut some trees, then used the negative part of the cut and black inks to stencil them into the background. After adhering the image to the bookmark, I attached a tassel that I made with some coordinating colors of embroidery floss 🙂 No more losing my place with this little cutie!
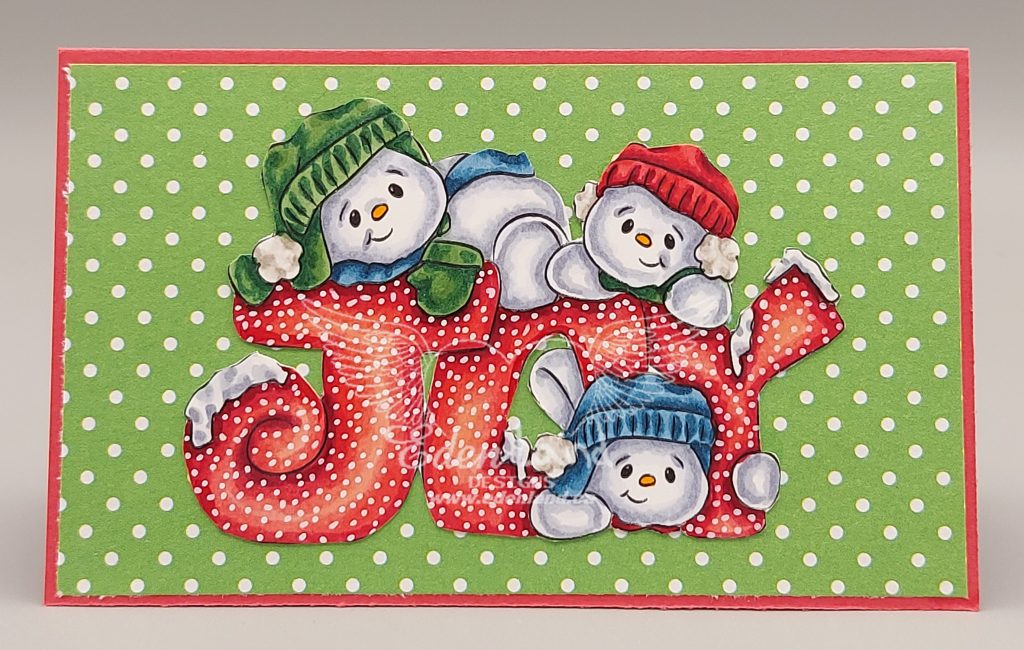
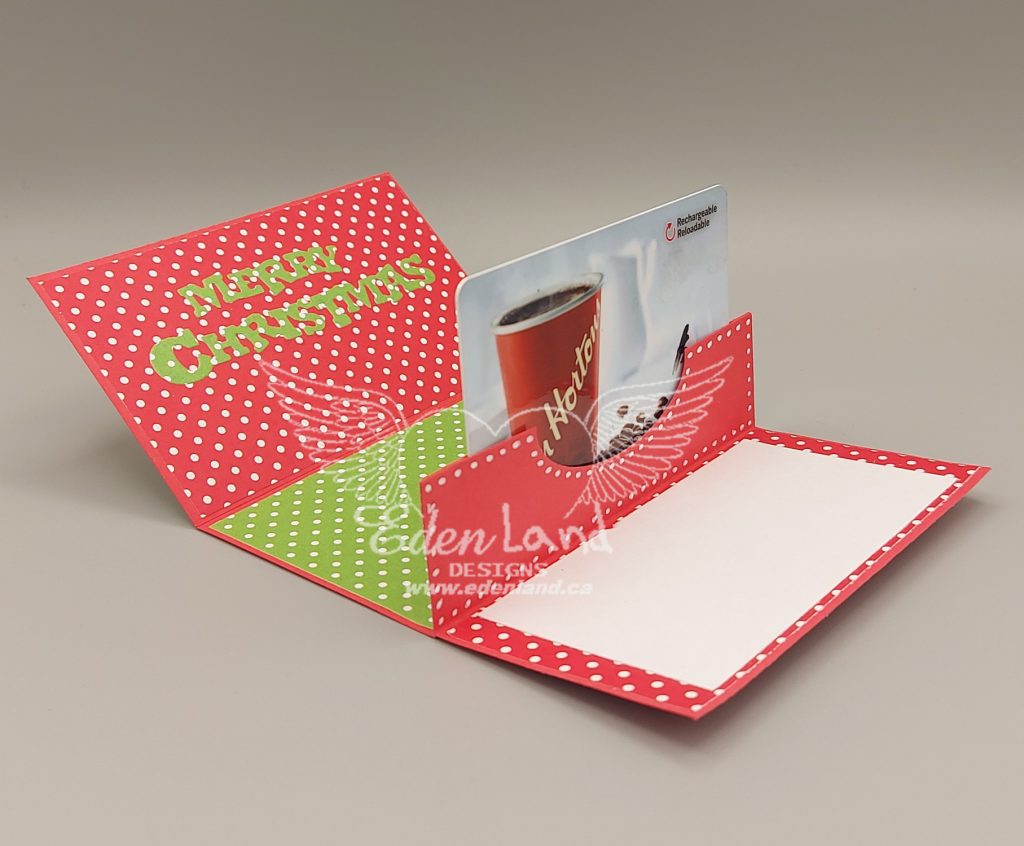
Hi there 🙂 Time for another Christmas creation, as I’m so dreadfully behind this year, it isn’t even funny!! I have the best post man that delivers to us at work. I get most of my online orders delivered there, and he’s always almost as excited as I am when my “presents” arrive. Not only that, he’ll take our work mail and pop it in the post for us 🙂 I always give him a gift card at Christmas, just because he’s special, and well….it’s Christmas!! I used Sparkle Glitter and Joy Snowmen, from Digi Doodle Studios, for this years holder. I colored it up with my Copics, added some touches with white Posca, then fussy cut it out. I decided to try a different style of gift card holder than any I’ve tried, and used a version of one I found on Pinterest.
I had scraps of red and green spotted paper, and they went perfectly with the spots that I added in the image! More spots were added with my Posca on the edges of the part that actually holds the GC. A quick die cut sentiment and a blank piece for adding a personal sentiment finish this off 🙂
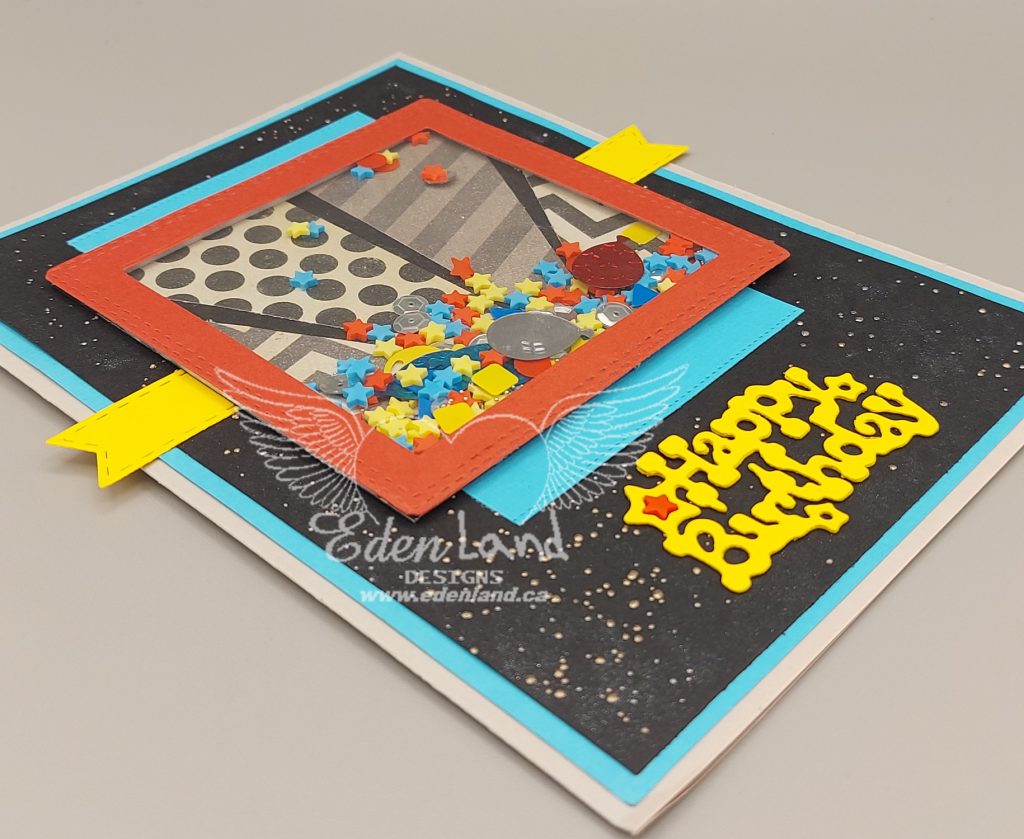
Hi there 🙂 Another boss’s birthday, another card. My bosses are really pretty great, so I like to have a bit of fun and make something a little special for them. I figured this one could use a fidget toy, too, so made him this shaker card. For the shaker part, I created a sunburst effect for the background from strips of paper that I have left over from making envelopes. I die cut the frame with a scrap of red cardstock, then filled it with some bright shaker “stuff”. I found a scrap of blue to layer behind the shaker, then die cut the sentiment from a bright yellow. Before gluing things down, I added a scattering of chunky silver embossing powder, to tie in with the silver bits in the shaker. As I was layering things up, I added a yellow banner piece to balance things out. For a tiny finishing touch, I glued a red shaker star in the centre of one of the sentiment letters.
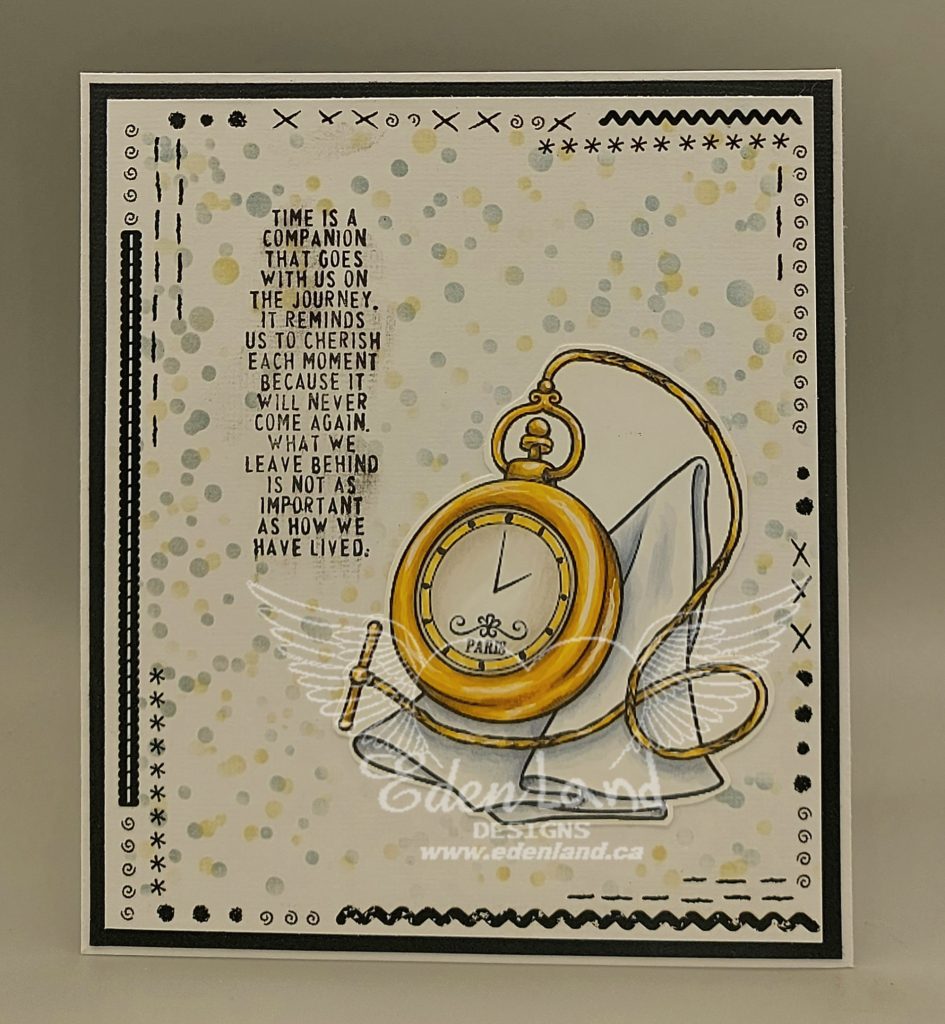
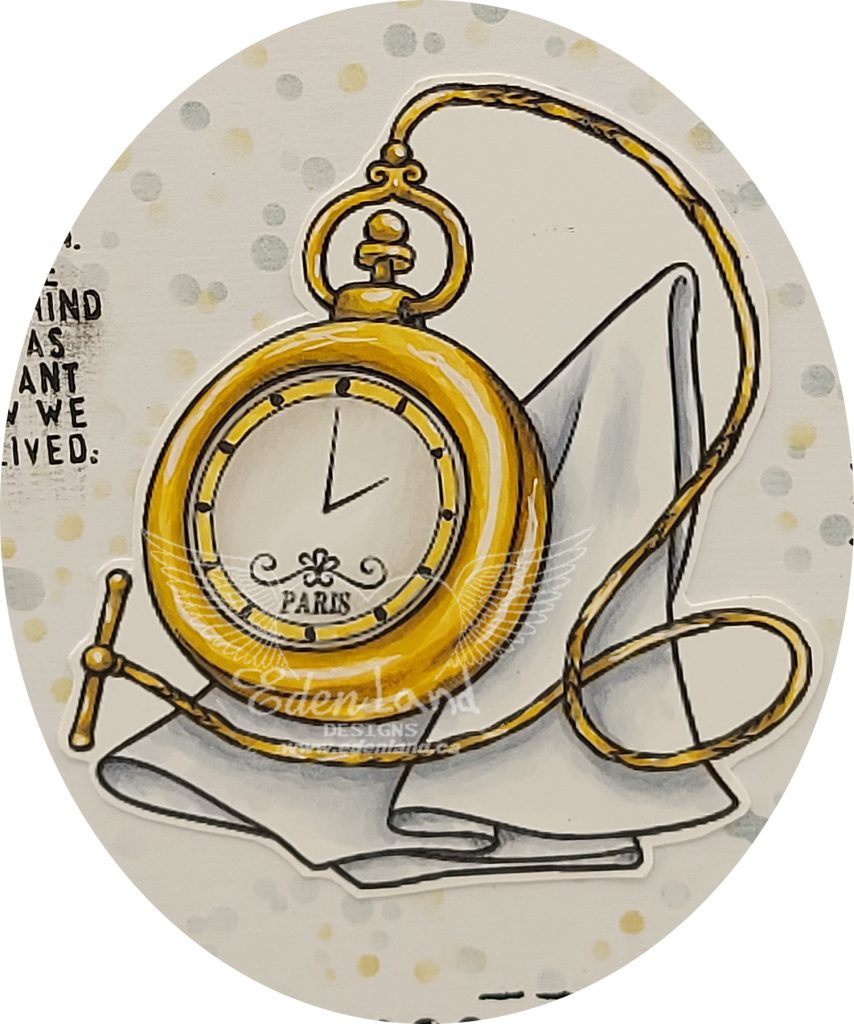
Hi there 🙂 I’ve really been trying to use images and stash that I’ve never used, or haven’t used for ages. I’m also trying to beef up my stash of masculine cards. Today’s card fits all these categories 🙂 I used a freebie from Beccy’s Place – Pocket Watch and Handkerchief, that was featured all the way back in 2010!!!!!! I colored it up with my Copics, adding a few highlights with white Posca, then fussy cut it out.
I stenciled the background using distress inks, and bringing in the colors of the image. The Tim Holtz sentiment seemed to fit the theme so well, that I just had to use it. For the borders – you better be sitting down for this – are rub ons!! I don’t even remember when I’ve used these the last time!! I have quite the stash of them – not all of them in great shape (one of the joys of rub ons!) – that I’ve been hoarding for half a lifetime! I really do like the effect they lend to this card though 🙂
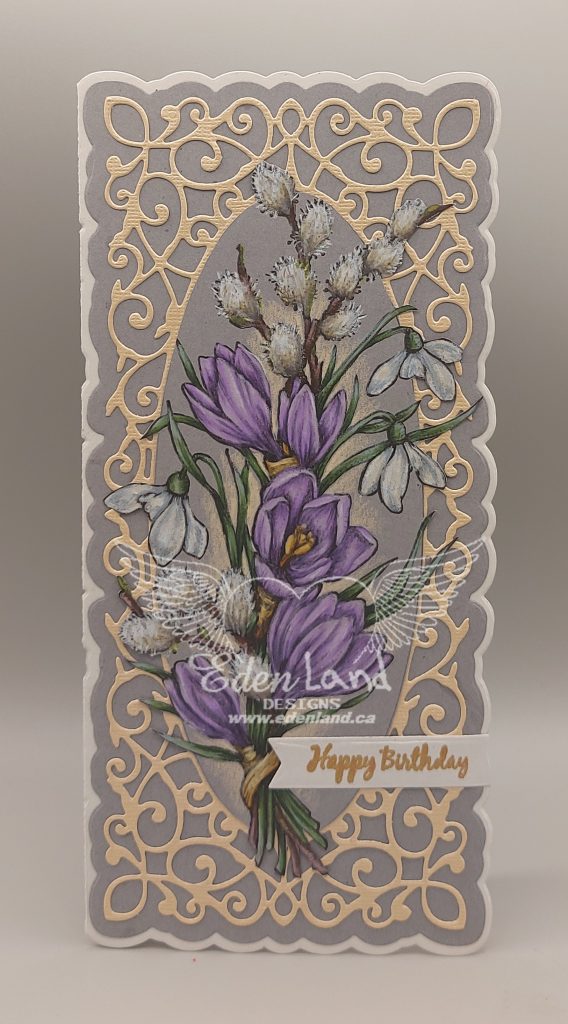
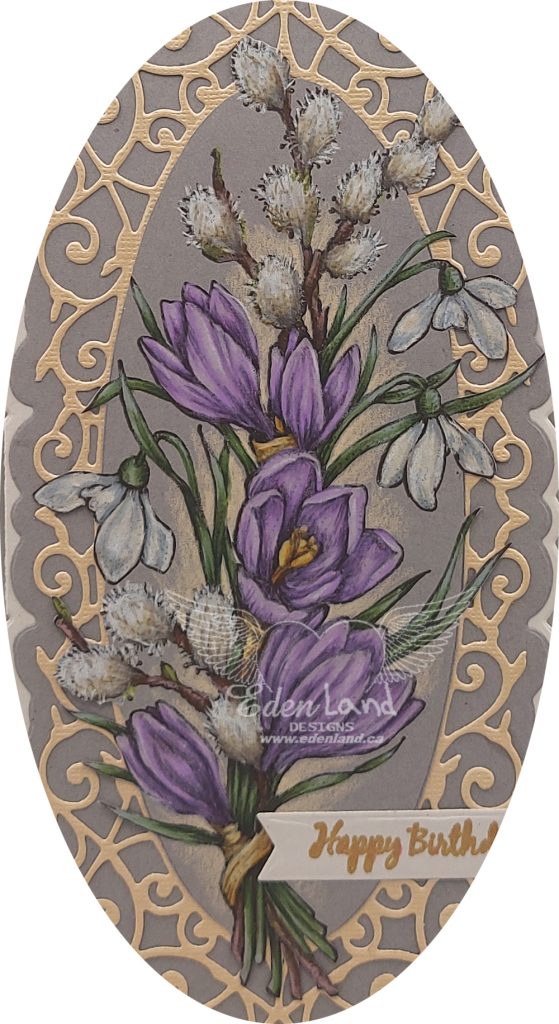
Hi there 🙂 I was recently talking to my sister, who lives in Santa Fe, and she told me that she has kept the prairie crocus that I pressed for her about 15 years ago (when she was living in Venezuela) all these years!! She takes it out and remembers the crocus hunts that we used to go on in our Mom’s “secret” crocus places. The crocus and the pussy willow were always the first, and most convincing signs that spring had arrived after a long, cold winter. The image, Winter Pick Me Up, from Power Poppy, has got to be my favorite spring image, ever!! Not only is it the perfect image for my sis’s birthday card, but it’s also ideal for the new challenge at Power Poppy! I colored the beauty up with my pencils, then did some rather confusing layering, partial fussy cutting, and die cutting to create this slim line card. A quick stamped and embossed sentiment on a die cut banner finishes this card off. I love the result, and hope my sister does, too, and that it brings back fond memories for her 🙂